Thursday, August 7, 2014

Coconut Cream Rice Pudding

We first came across this recipe when we paddled the Chochocouane River up in La Vérendrye, Québec. It was a 'add water when you get to camp' kind of recipe using minute rice but powdered milk and we LOVED it! It has now become a Giles-haus favourite since it is both lactose free and gluten free. The only thing that I've found about any recipes that I've tried is that you end up with a pretty solid product at the end - solid in the deliciousness sense and solid in well, the solid sense: the rice soaks up a lot of the coconut milk. If you have some extra coconut milk around, it's great just to mix some in the next day to return it to its slightly runny state. I've also used some soy milk for the same purpose.


Ingredients:
1 1/2 cups basmati rice
3 cups water
2 cans coconut milk (highest fat content possible)
1 brick of creamed coconut solid
1 1/2 cups sugar
1 tsp. salt
1 tsp. vanilla
1 chopped mango (fresh or dehydrated, as per your preference)

Directions:
1. In a large, heavy pot, boil your rice and water for 7-8 minutes.
2. Add the coconut milk, coconut solid and sugar and simmer again for another 15-16 minutes - stirring occasionally.
3. Add salt and vanilla and cook for another 2 minutes.
4. Remove from heat and cool. Yum!


Funnel Cakes

 Probably one of my favourite fair foods of all time is the classic funnel cake. When I came across this recipe, I thought it was too good to be true. And maybe it was. Guys, the deliciousness of these deep fried wonders knows no bounds. If you could take a bite out of heaven, I imagine that it would taste like funnel cake.

Okay, I do have a few warnings to issue before we get down to business: 1. These are extremely addictive and, well, not very good for you. Be sure you have others to share with before you make these. Otherwise, umm, you can imagine. 2. In addition to tasting like those delicious fair-made funnel cakes these may also make your kitchen smell a little like a fair—for a long time. We are deep frying, people—I won't sugarcoat the details (Ha! I'm hilarious...ly lame). Open a window. It's a good thing. Unless it's snowing.

Now the timing, batter thickness, and funnel spout size are keys to funnel cake success. If your batter is too thin or watery, you'll have an enormous mess that spreads and won't hold together. If your batter is too gloppy you won't be able to pour it out in a timely enough fashion to avoid an overdone crunchy mess. A 1-cup funnel with a 1/4-inch opening is an ideal size, a squeeze bottle with a 1/4 inch opening is even better—it's easier to control the flow rate. Being a purist (aka don't own a squeeze bottle), I use a funnel and have always had great results. I find a good clue to knowing you have the right batter consistency is to see when you get a 'trace' of batter that forms on the rest of the batter when you pour it over with a spoon. I hope this makes sense... You'll probably find you have to play around with your batter just a bit to get the right consistency.

Bon appétit friends!

Ingredients:
2 eggs
1 1/4 cups milk (possibly more or less... see above)
1 cup water
1/2 teaspoon vanilla extract
3 cups all-purpose flour
1/4 cup sugar
1 tablespoon baking powder
1/4 teaspoon salt
Oil for deep-fat frying
Confectioners' sugar


Directions:
1. In a large bowl, beat eggs. Add milk, water and vanilla until well blended. Combine flour, sugar, baking powder and salt; beat into egg mixture until smooth. In an electric skillet or deep-fat fryer, heat oil to 375°.

2. Cover the bottom of a funnel spout with your finger; ladle 1/2 cup of batter into the funnel. Holding the funnel several inches above the oil, release your finger and move the funnel in a spiral motion until all the batter is released (scraping with a rubber spatula if needed).

3. Fry for 2 minutes on each side or until golden brown. Drain on paper towels. Dust with confectioners' sugar and serve warm. Yield: 8 cakes.

Monday, March 17, 2014

Avocado Quinoa Salad

I'd like to devote this next post to a very dear (and very missed!) friend, Erin Long. Erin is such a lovely, caring and all around wonderful wife, mother and friend. When I was pregnant, Erin had me over a couple of times to show me her ropes - how she cared for her 3 year old daughter and couple months old son. I was so freaked out awaiting the birth of my baby and she did such a good job alleviating my fears. We would have tea and lunch and eat delicious things like fresh, homemade biscotti bread with hot drizzling chocolate and, one of my new staples, the Oprah Quinoa Salad. Erin showed me that you can have tons of stuff loaded up on your life plate and still eat good, wholesome food on your dinner plate.

This is a great salad to make up for lunches during the week. If you have any left over chicken, toss it in. It tastes GREAT. Other great add ons would be: cranberries, oranges, cilantro... anything really. Enjoy & bon appétit!

Ingredients:
Dressing
Finely grated zest and juice of 1 lemon
3 Tbsp. olive or vegetable oil
1/2 tsp. ground coriander
1/2 tsp. ground cumin
1/2 tsp. paprika
Salt and freshly ground black pepper

Salad
1 cup red or white quinoa, rinsed well
1/2 tsp. salt
2 cups cold water
1/4 cup finely diced dried apricots
1/2 an orange, chopped
Warm water
2 ripe avocados
2 green onions, sliced diagonally
1/4 cup toasted slivered or sliced almonds

Directions:
In a bowl, whisk together lemon zest, lemon juice, oil, coriander, cumin and paprika. Season to taste with salt and pepper.

In a saucepan, combine quinoa, salt and cold water; bring to a boil over medium-high heat. Stir, reduce heat to low, cover and simmer for about 15 minutes or until water is absorbed and quinoa is tender. Fluff with a fork, spread on a large baking sheet and let cool completely.

Meanwhile, place apricots in a small bowl. Cover with warm water and let stand for about 5 minutes or until plump. Drain and set aside.

Peel avocados and cut into bite-sized chunks. Place in a bowl and toss with 1 Tbsp. of the dressing to prevent discoloration. Place cooled quinoa in a large salad bowl. Add apricot/orange mixture, avocados, green onions and almonds. Add the remaining dressing and toss to combine.

- recipe cred to Oprah

Chipotle Mayo Burgers with Grilled Onions

Not sure if you noticed, but lately the Giles' have been digging their chipotle chilies in adobo sauce. I'm pretty sure that I've raved about it before on the Blog, but if not, here I go again. If you make any of your own 'tex-mex' type food (tacos, fajitahs etc.), chipotle chilies in adobo is a MUST. Tonight I decided to mix it into some mayonnaise and serve up my burgers with some nicely grilled red onions. It's fun to spice up an old classic. Also had some nice fresh Canadian feta in the fridge, so I threw some of that on for good measure too. YUM. Burgerlishious. Bon appétit!

Ingredients
1 1/4 pounds ground chuck
kosher salt and black pepper
canola oil, for the grill
1 medium red onion, cut into four 1/2-inch-thick slices
1/2 cup mayonnaise
1 to 2 tablespoons chopped chipotles in adobo sauce
2 teaspoons lime juice
4 buns (we make ours fresh from our homemade pizza dough recipe!)
1/2 cup fresh cilantro leaves

Directions
1. Heat grill to medium-high. Form the beef into four ¾-inch-thick patties. Use your fingers to make a shallow well in the top of each patty. (This will prevent overplumping during cooking.) Season with a total of ½ teaspoon each salt and pepper.

2. Oil the grill and cook the patties with the wells facing up for 4 to 5 minutes. Flip and cook 4 to 5 minutes more. Grill the red onion until tender, 4 to 5 minutes per side.

5. In a small bowl, combine the mayonnaise, chipotles, and lime juice. Dividing evenly, spread the buns with the mayonnaise mixture. Form burgers with the mayo, burgers, onions, and cilantro.

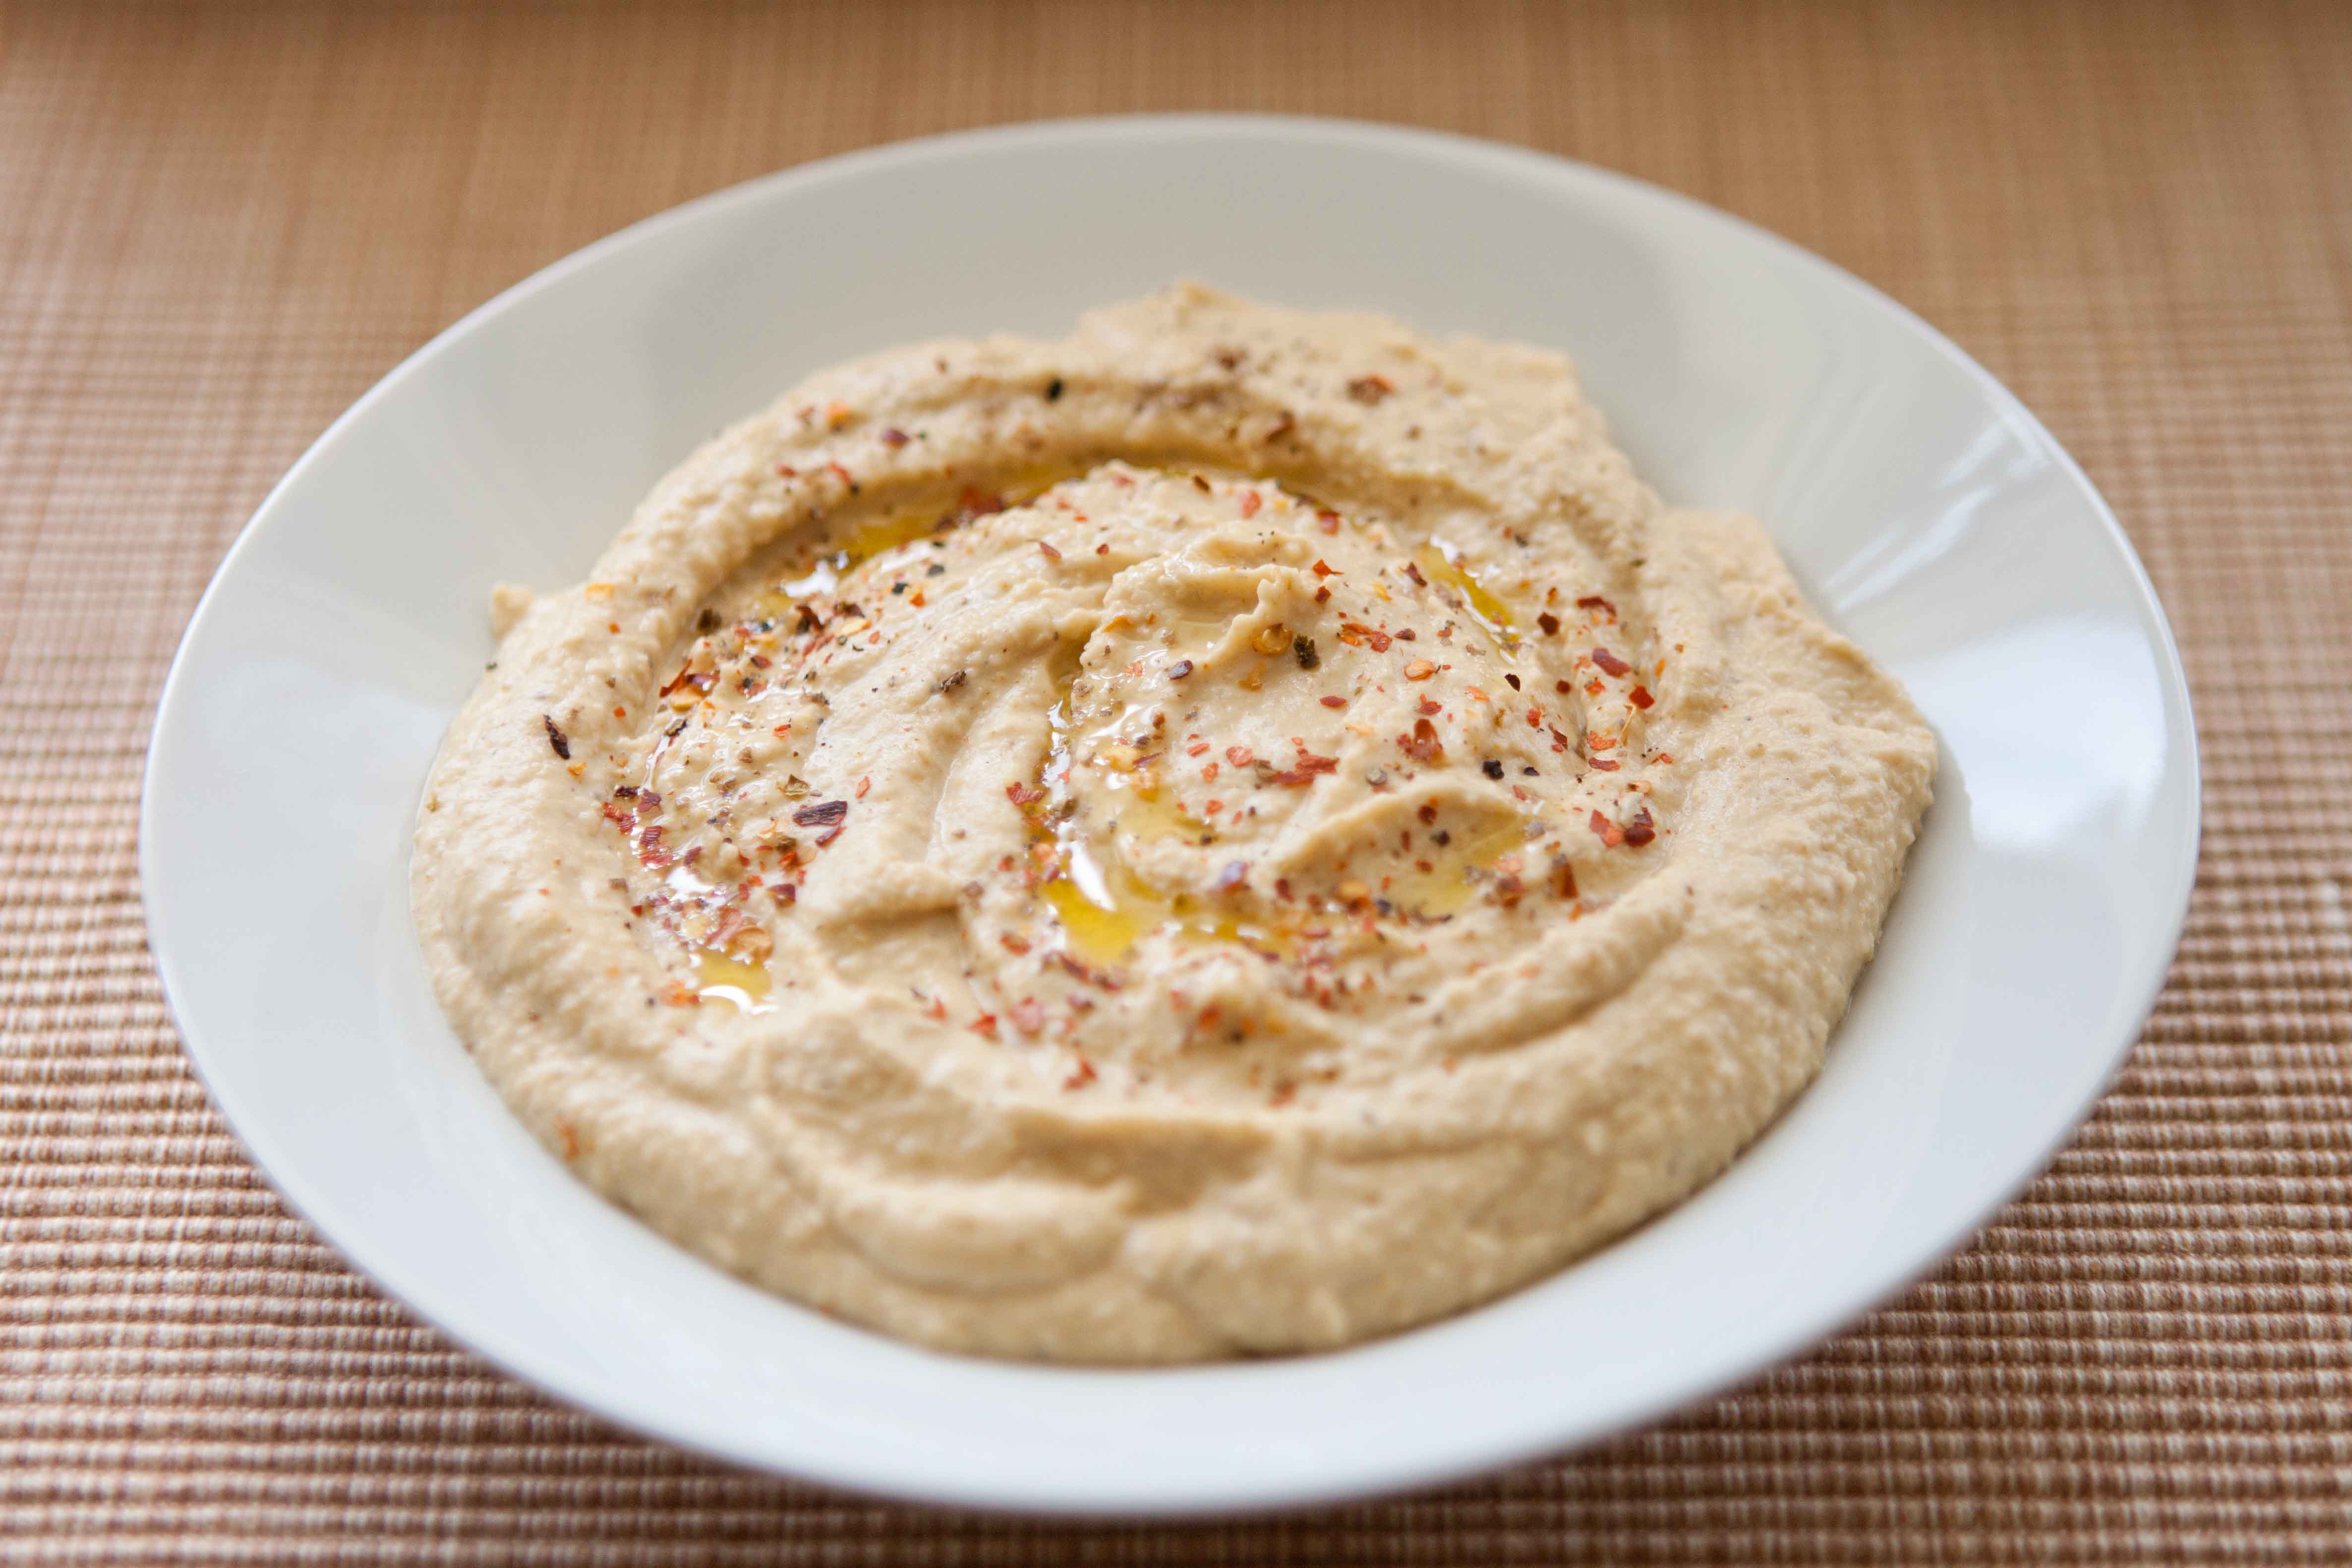
Classic Hummus

The first time I made hummus with a friend, we went grocery shopping together and she asked me to grab the 'tahini' and meet her at the front of the store. Being a hummus virgin, I had never heard of tahini before and, instead, came back a nice, big zucchini. My friend had a big laugh over this and subsequently brought me back to the international food aisle to show me the actual item we were searching for: tahini, or, sesame paste. I like to think of it like peanut butter but with sesame seeds.

In my mind, this is hands down, the BEST hummus recipe I've ever come across. The important thing is the order in which the ingredients are placed in the food processor. If you want to try to make this recipe without a food processor, say, with a potato masher or even a hand mixer, well, good luck with that. I'm sure your hummus will taste good, but it definitely won't have that nice, smooth, creaminess that all good hummuses are known for. Such a tasty dip for tortilla chips, pittas, veggies etc. My 9 month old loves it spread on top of his 'mum mum' crackers! Bon appétit!

Note: make sure to give your tahini a good stir before using it since the oils will probably have separated

Ps- in case you were wondering, we decided to bring home the zucchini too :)

Ingredients One 15-ounce can chickpeas
1/4 cup fresh lemon juice, about 1 large lemon
1/4 cup tahini
Half of a large garlic clove, minced (***be careful not to O.D on the garlic, it's tempting but you really don't want to add too much)
2 tablespoons olive oil, plus more for serving
1/2 to 1 teaspoon salt (depending on taste)
1/2 teaspoon ground cumin
2 to 3 tablespoons water
Dash of ground paprika for serving

DirectionsPreparing the Hummus
In the bowl of a food processor, combine tahini and lemon juice. Process for 1 minute. Scrape sides and bottom of bowl then turn on and process for 30 seconds. This extra time helps “whip” or “cream” the tahini, making smooth and creamy hummus possible.


Add the olive oil, minced garlic, cumin and the salt to whipped tahini and lemon juice. Process for 30 seconds, scrape sides and bottom of bowl then process another 30 seconds.


Adding the Chickpeas
Open can of chickpeas, drain liquid then rinse well with water. Add half of the chickpeas to the food processor then process for 1 minute. Scrape sides and bottom of bowl, add remaining chickpeas and process for 1 to 2 minutes or until thick and quite smooth.


Creating the Perfect Consistency
Most likely the hummus will be too thick or still have tiny bits of chickpea. To fix this, with the food processor turned on, slowly add 2 to 3 tablespoons of water until the consistency is perfect.


To Serve
Scrape the hummus into a bowl then drizzle about 1 tablespoon of olive oil over the top and sprinkle with paprika.

Recipe cred to Inspired Taste