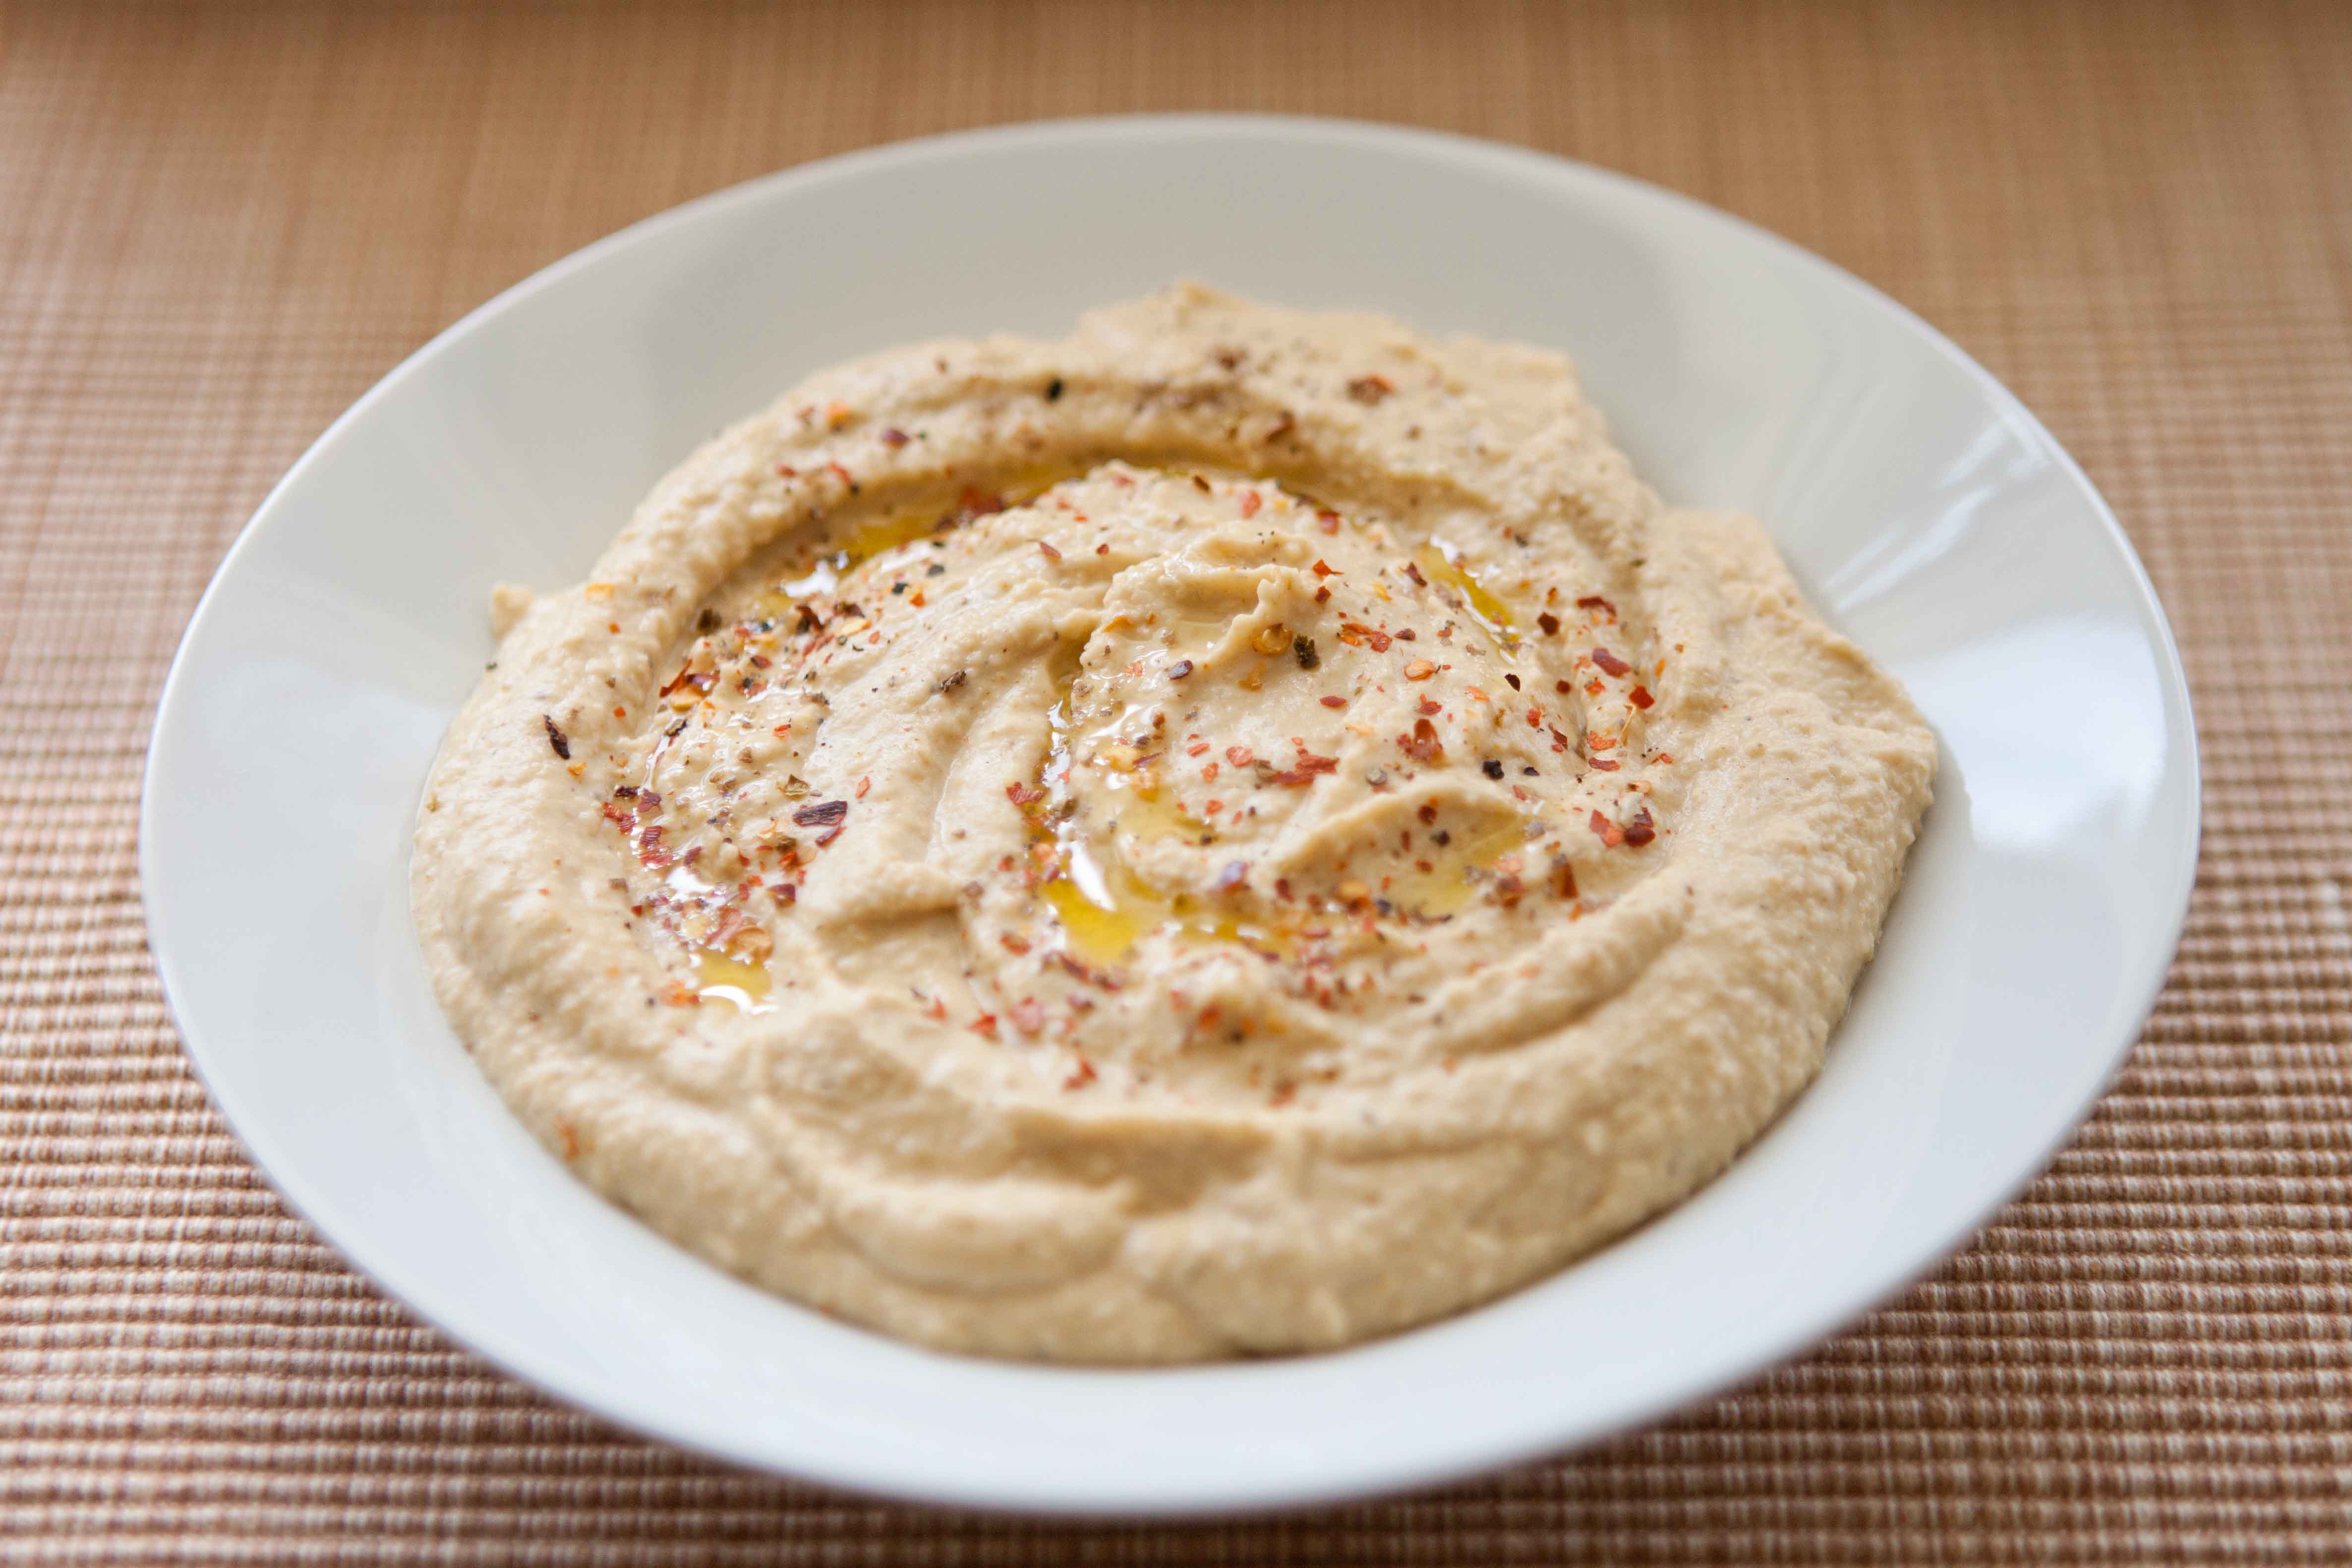
The first time I made hummus with a friend, we went grocery shopping together and she asked me to grab the 'tahini' and meet her at the front of the store. Being a hummus virgin, I had never heard of tahini before and, instead, came back a nice, big zucchini. My friend had a big laugh over this and subsequently brought me back to the international food aisle to show me the actual item we were searching for: tahini, or, sesame paste. I like to think of it like peanut butter but with sesame seeds.
In my mind, this is hands down, the BEST hummus recipe I've ever come across. The important thing is the order in which the ingredients are placed in the food processor. If you want to try to make this recipe without a food processor, say, with a potato masher or even a hand mixer, well, good luck with that. I'm sure your hummus will taste good, but it definitely won't have that nice, smooth, creaminess that all good hummuses are known for. Such a tasty dip for tortilla chips, pittas, veggies etc. My 9 month old loves it spread on top of his 'mum mum' crackers! Bon appétit!
Note: make sure to give your tahini a good stir before using it since the oils will probably have separated
Ps- in case you were wondering, we decided to bring home the zucchini too :)
Ingredients One 15-ounce can chickpeas
1/4 cup fresh lemon juice, about 1 large lemon
1/4 cup tahini
Half of a large garlic clove, minced (***be careful not to O.D on the garlic, it's tempting but you really don't want to add too much)
2 tablespoons olive oil, plus more for serving
1/2 to 1 teaspoon salt (depending on taste)
1/2 teaspoon ground cumin
2 to 3 tablespoons water
Dash of ground paprika for serving
DirectionsPreparing the Hummus
In the bowl of a food processor, combine tahini and lemon juice. Process for 1 minute. Scrape sides and bottom of bowl then turn on and process for 30 seconds. This extra time helps “whip” or “cream” the tahini, making smooth and creamy hummus possible.

Add the olive oil, minced garlic, cumin and the salt to whipped tahini and lemon juice. Process for 30 seconds, scrape sides and bottom of bowl then process another 30 seconds.

Adding the Chickpeas
Open can of chickpeas, drain liquid then rinse well with water. Add half of the chickpeas to the food processor then process for 1 minute. Scrape sides and bottom of bowl, add remaining chickpeas and process for 1 to 2 minutes or until thick and quite smooth.

Creating the Perfect Consistency
Most likely the hummus will be too thick or still have tiny bits of chickpea. To fix this, with the food processor turned on, slowly add 2 to 3 tablespoons of water until the consistency is perfect.

To Serve
Scrape the hummus into a bowl then drizzle about 1 tablespoon of olive oil over the top and sprinkle with paprika.
In my mind, this is hands down, the BEST hummus recipe I've ever come across. The important thing is the order in which the ingredients are placed in the food processor. If you want to try to make this recipe without a food processor, say, with a potato masher or even a hand mixer, well, good luck with that. I'm sure your hummus will taste good, but it definitely won't have that nice, smooth, creaminess that all good hummuses are known for. Such a tasty dip for tortilla chips, pittas, veggies etc. My 9 month old loves it spread on top of his 'mum mum' crackers! Bon appétit!
Note: make sure to give your tahini a good stir before using it since the oils will probably have separated
Ps- in case you were wondering, we decided to bring home the zucchini too :)
Ingredients One 15-ounce can chickpeas
1/4 cup fresh lemon juice, about 1 large lemon
1/4 cup tahini
Half of a large garlic clove, minced (***be careful not to O.D on the garlic, it's tempting but you really don't want to add too much)
2 tablespoons olive oil, plus more for serving
1/2 to 1 teaspoon salt (depending on taste)
1/2 teaspoon ground cumin
2 to 3 tablespoons water
Dash of ground paprika for serving
DirectionsPreparing the Hummus
In the bowl of a food processor, combine tahini and lemon juice. Process for 1 minute. Scrape sides and bottom of bowl then turn on and process for 30 seconds. This extra time helps “whip” or “cream” the tahini, making smooth and creamy hummus possible.

Add the olive oil, minced garlic, cumin and the salt to whipped tahini and lemon juice. Process for 30 seconds, scrape sides and bottom of bowl then process another 30 seconds.

Adding the Chickpeas
Open can of chickpeas, drain liquid then rinse well with water. Add half of the chickpeas to the food processor then process for 1 minute. Scrape sides and bottom of bowl, add remaining chickpeas and process for 1 to 2 minutes or until thick and quite smooth.

Creating the Perfect Consistency
Most likely the hummus will be too thick or still have tiny bits of chickpea. To fix this, with the food processor turned on, slowly add 2 to 3 tablespoons of water until the consistency is perfect.

To Serve
Scrape the hummus into a bowl then drizzle about 1 tablespoon of olive oil over the top and sprinkle with paprika.
Recipe cred to Inspired Taste


