Showing posts with label garlic. Show all posts

Monday, March 17, 2014

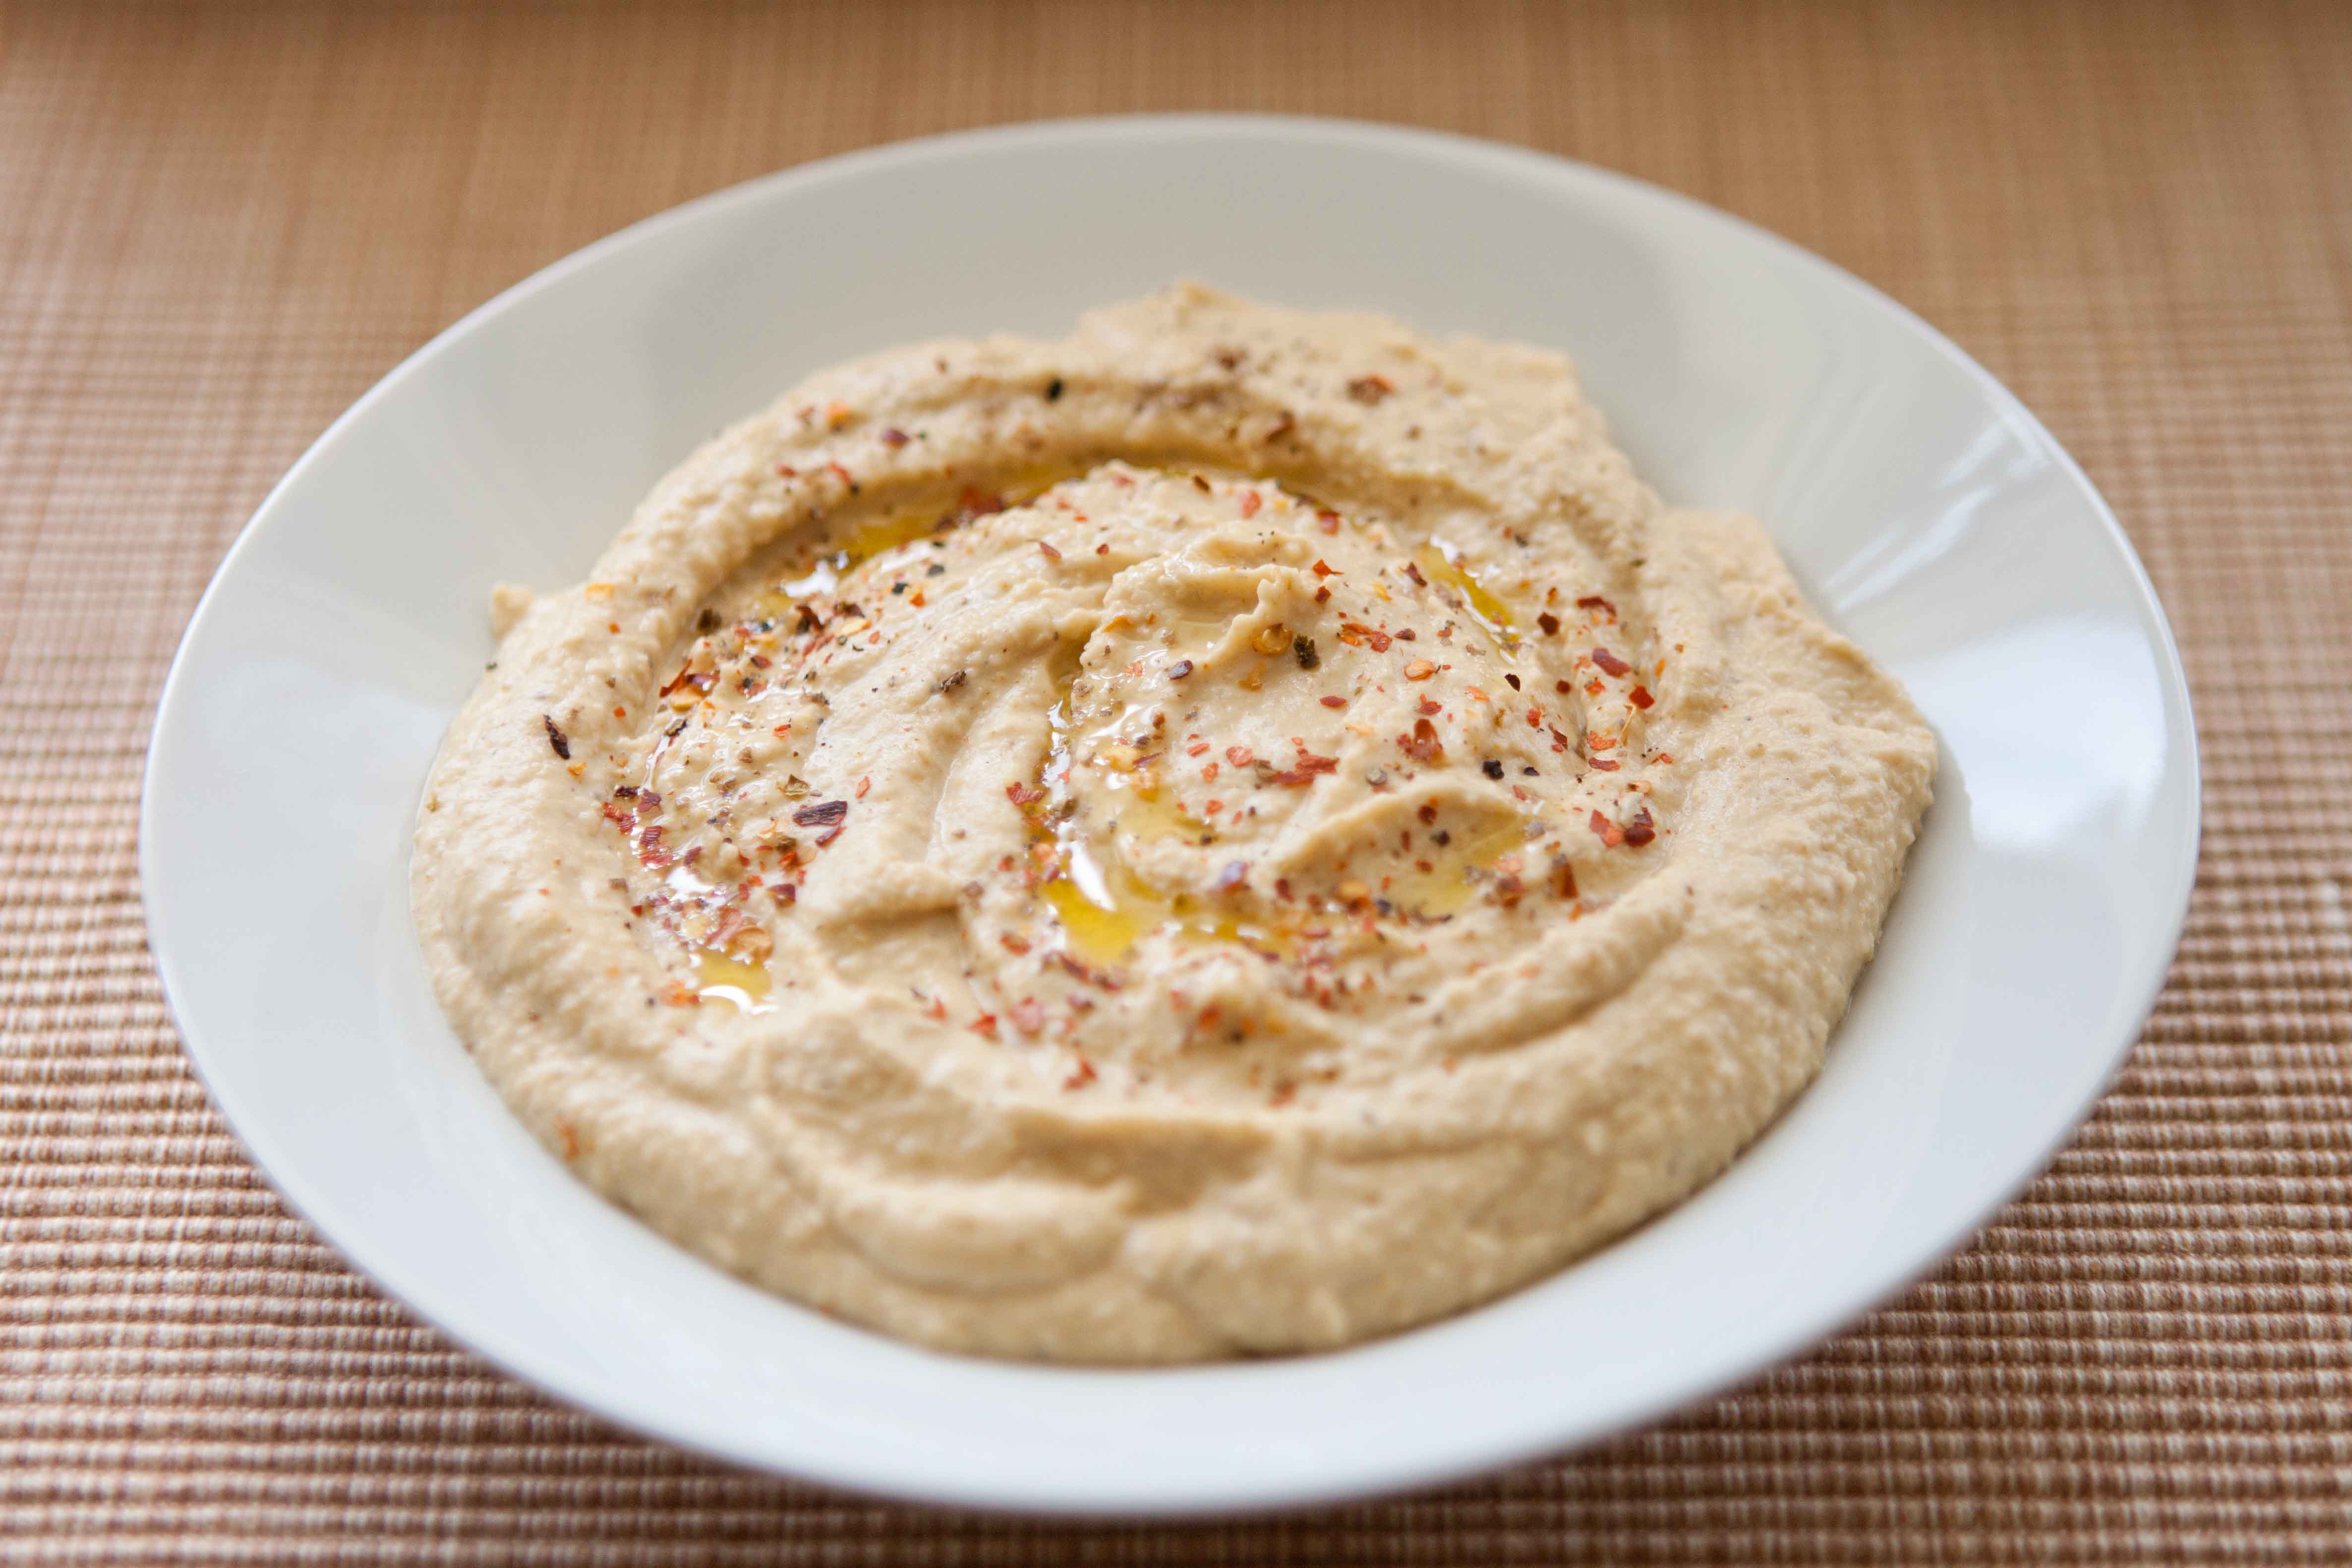
Classic Hummus

The first time I made hummus with a friend, we went grocery shopping together and she asked me to grab the 'tahini' and meet her at the front of the store. Being a hummus virgin, I had never heard of tahini before and, instead, came back a nice, big zucchini. My friend had a big laugh over this and subsequently brought me back to the international food aisle to show me the actual item we were searching for: tahini, or, sesame paste. I like to think of it like peanut butter but with sesame seeds.

In my mind, this is hands down, the BEST hummus recipe I've ever come across. The important thing is the order in which the ingredients are placed in the food processor. If you want to try to make this recipe without a food processor, say, with a potato masher or even a hand mixer, well, good luck with that. I'm sure your hummus will taste good, but it definitely won't have that nice, smooth, creaminess that all good hummuses are known for. Such a tasty dip for tortilla chips, pittas, veggies etc. My 9 month old loves it spread on top of his 'mum mum' crackers! Bon appétit!

Note: make sure to give your tahini a good stir before using it since the oils will probably have separated

Ps- in case you were wondering, we decided to bring home the zucchini too :)

Ingredients One 15-ounce can chickpeas
1/4 cup fresh lemon juice, about 1 large lemon
1/4 cup tahini
Half of a large garlic clove, minced (***be careful not to O.D on the garlic, it's tempting but you really don't want to add too much)
2 tablespoons olive oil, plus more for serving
1/2 to 1 teaspoon salt (depending on taste)
1/2 teaspoon ground cumin
2 to 3 tablespoons water
Dash of ground paprika for serving

DirectionsPreparing the Hummus
In the bowl of a food processor, combine tahini and lemon juice. Process for 1 minute. Scrape sides and bottom of bowl then turn on and process for 30 seconds. This extra time helps “whip” or “cream” the tahini, making smooth and creamy hummus possible.


Add the olive oil, minced garlic, cumin and the salt to whipped tahini and lemon juice. Process for 30 seconds, scrape sides and bottom of bowl then process another 30 seconds.


Adding the Chickpeas
Open can of chickpeas, drain liquid then rinse well with water. Add half of the chickpeas to the food processor then process for 1 minute. Scrape sides and bottom of bowl, add remaining chickpeas and process for 1 to 2 minutes or until thick and quite smooth.


Creating the Perfect Consistency
Most likely the hummus will be too thick or still have tiny bits of chickpea. To fix this, with the food processor turned on, slowly add 2 to 3 tablespoons of water until the consistency is perfect.


To Serve
Scrape the hummus into a bowl then drizzle about 1 tablespoon of olive oil over the top and sprinkle with paprika.

Recipe cred to Inspired Taste

Tuesday, February 7, 2012

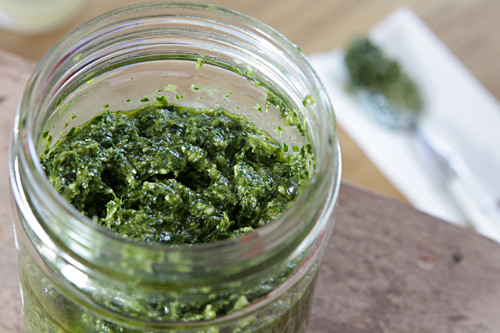
Fresh Basil Pesto

One of my greatest pleasures during the summer months is having access to copious amounts of fresh garden basil. That said, come winter, it`s always so disappointing to have to go and buy those ridiculously overpriced packages of herbs at the grocery store. They really are a taste of those smidgens of summer though and are a real treat for making delicious homemade pesto during that long cold stretch from October-May. I made up this yummy batch of basil pesto and kept some left over basil leaves for adding to our salads and sandwiches this week. So good.

A couple of really important pesto notes:
1. Don't heat it! Rule number one is don't heat the pesto. Let the pesto room to warm temperature and add to hot pasta or top vegetables.
2. Some people prefer to mix half parsley and half basil to tone-down the strong basil flavor. I personally really dig that bail-goodness so I always go for 100% fresh basil.
3. Don't skimp on the cheese. Buy good quality Parmigiano Regiano. The results will be worth the extra dollar for the cheese.
4. You may think it’s nice to toast the pine nuts until they’re coloured, to give them a nutty taste, but, according to Jamie, the really good, truly Italian pestos just have them very lightly toasted, to give a creaminess rather than a nuttiness.

Bon appétit!

Ingredients:
1 clove of garlic, chopped
sea salt and freshly ground black pepper
3 good handfuls of fresh basil, leaves picked and chopped
a handful of pine nuts, very lightly toasted
a good handful of freshly grated Parmesan cheese
extra virgin olive oil
optional: a small squeeze of lemon juice

Directions:
Pound the garlic with a little pinch of salt and the basil leaves in a pestle and mortar, or pulse in a food processor. Depending on how much of a garlicky taste you like, go for either 1/2 a clove or a whole one. You can add more later if need be. Add the pine nuts to the mixture and pound again. Turn out into a bowl and add half the Parmesan. Stir gently and add olive oil – you need just enough to bind the sauce and get it to an oozy consistency.

Season to taste, then add most of the remaining cheese. Pour in some more oil and taste again. Keep adding a bit more cheese or oil until you are happy with the taste and consistency. You may like to add a squeeze of lemon juice at the end to give it a little twang, but it’s not essential. Try it with and without and see which you prefer.

Thursday, February 2, 2012

Bottom of the Bottle Dijon Dressing

I love this idea. Whenever you`re left with just a teeny, tiny, scrapethebottomofthejar bit of mustard, don't throw it out. Instead, toss in a few ingredients and shake a tangy Dijon vinaigrette right in the container. Bon appétit!

Ingredients:
Up to you really: I usually go with 1 crushed garlic clove, some chopped fresh herbs (whatever I have on hand: tarragon, shallot, thyme, basil are all good), some balsamic vinegar, salt and pepper, a touch of sugar, freshly squeezed lemon juice

Directions: 
Mix all of your ingredients directly in the bottle, close the lid and give it all a good shake. Add olive oil (2 parts oil to 1 part vinegar ... I personally like less oil and more vinegar so go with what you like); shake again to emulsify the dressing. Play around with the flavours - there`s no real `recipe` here really. Drizzle over your favorite salad and enjoy. With a tightly sealed lid, the dressing will keep in the refrigerator for up to one week.


Monday, January 30, 2012

Chicken Stuffed with Spinach & Ricotta

You will feel like a pro-star making this chicken, believe you me. Truly pro-star. This recipe is adapted from a Food Network recipe book that I picked up a couple of years back that has a 'mix and match' stuffed chicken recipe where you can mix up different potential stuffing ingredients (ex. cheese/tomato, feta/olive etc.). I definitely love this spinach and ricotta blend. It's so tasty. So, so tasty. I have made this recipe before using goat cheese instead of ricotta and both are delicious. To save some cooking time, you can pan-fry your chicken for a couple of minutes on each side before baking it. Bon appétit!


Ingredients
1 1/2 cups freshly chopped spinach (or 1 package frozen chopped spinach, thawed)
1/2 cup ricotta cheese or 1/2 cup goat cheese
2 cloves garlic, finely minced
Coarse salt and ground pepper
4 boneless skinless chicken breasts

Directions
1. Preheat oven to 375 degrees. Mix ricotta/goat cheese, garlic, spinach, 1/2 teaspoon salt, and 1/4 teaspoon pepper; stir well to combine. Set filling aside.

2. Insert a pairing knife into the thickest part of 4 6-8oz chicken breasts (boneless skinless) to make 3" deep pockets. Stuff the breasts with your prepared filling. Rub olive oil on outsides of chicken breasts and season with salt and pepper.

3. Place on a rimmed baking sheet; roast until chicken is cooked through, 25 to 30 minutes. Another option is to pan-fry the chicken for 2-3 minutes each side (with toothpicks to stabilize) and then bake for about 15 minutes. Important thing is to check that your chicken is cooked to a minimum of 155F inside. Serve immediately. Enjoy!

Sunday, January 29, 2012

Moroccan Eggplant

First off - I highly recommend you get past the downright awful looking little side picture.  The end result of actually making this neat little side dish will surely wow you. I will start this post by admitting that I am not a huge eggplant fan myself. I think that it's the texture mainly. The sponginess of the whole thing kind of weirds me out. I decided that I needed to broaden the Giles' vegetable palate this week though and thought that I'd check out a few of the cookbooks. This came up and I thought I'd give it a whirl. I was looking for something fun to serve up beside this Moroccan Chicken dish. The eggplant looks really greasy and gross but it's actually really sweet and tangy and syrupy like. Yummmmmmm. Nice to try something a little different every now and then!  Bon appétit!

(Serves 4 to 6 as a side)

Ingredients:
2 small eggplants (about 1 1/2 lbs.)
2 to 3 tablespoons olive oil
2 tablespoons olive oil
4 garlic cloves, pressed or very finely chopped
4 tablespoons honey
4 tablespoons lemon juice
1 small spoonful harissa, or 1/4 teaspoon cayenne pepper
1 teaspoon cumin
1/2 teaspoon ginger
salt


Directions:
1. Peel the eggplants, and cut into 1/4 inch thick slices. Brush both sides of the slices with olive oil.

2. Heat a large non-stick frying pan over medium to medium high-heat. Fry the eggplant, turning once, until golden brown. Set aside.

3. Remove the pan from the heat, and allow the pan to cool for a minute or two. Add the olive oil and the garlic, and leave the garlic to soften. When the aroma of the garlic has been released, add the honey, lemon juice, harissa, spices and salt to taste. Stir to blend.

4. Return the eggplant to the pan, and bring the sauce to a simmer over medium heat. Cook the eggplant for about 10 minutes, or until the egpplant is tender and the sauce has a syrup-like consistency. Add a little water during the cooking if you feel it's necessary, but not so much that the eggplant will overcook while the liquids reduce.

Serve at room temperature.

Saturday, January 14, 2012

Uber Yums Black Beans

This could not be any easier and is a delicious side dish for any "south of the border" food you might be serving up. I am used to black beans looking like a goobey mess but these guys are different. I'm also used to beans taking several hours to cook up - these guys only take 10 minutes. If that. We`ve also made these up to serve on tacos (they were a big hit!). Do enjoy! Bon appétit!

Directions:
Take a can of red kidney or black beans beans and rinse em'  out really well. Put them in a medium hot pan with some olive oil (maybe 2 tbs?).  Turn them around in the pan for a minute. Add 2-3 cloves of garlic (I like a lot of garlic), about 1 tsp oregano and salt and pepper. Heat the beans through and they are done. So good.

Tuesday, July 26, 2011

Grilled Lemon Garlic Chicken

This is such an easy, tasty dish. No marinading. Just lemony deliciousness on your plate in 1/2 an hour. I definitely recommend working with thinner pieces of chicken so that they cook through quickly and evenly (and so that you don't end up with charred chicken on the outside, pink totally uncooked chicken on the inside). Oh to the hot days of summer.... so perfect for the bbq. Bon appétit!

Ingredients:
2 tablespoons fresh lemon juice
2 tablespoons extra-virgin olive oil, plus more for grill
1 small garlic clove, minced
1 tsp freshly cracked pepper
8 boneless, skinless chicken thighs (about 2 pounds total)

Directions
1. Heat grill to high; lightly oil grates. Mince 1 garlic clove, and place in a shallow dish. Add lemon juice and 1 tablespoon oil; season with salt and pepper. Add chicken, and toss to coat. Let stand at room temperature at least 5 minutes (and up to 30).

2. Brush bread on both sides with remaining 2 tablespoons oil; season with salt and pepper. Grill bread until beginning to char, about 1 minute per side. Cut remaining garlic clove in half, and rub cut sides over grilled bread; set bread aside (discard garlic clove).

3. Grill chicken until opaque throughout, 1 to 3 minutes per side. Serve with fresh lemon wedges.

- recipe and photo cred to Everyday Food